IMPORTANT INFORMATION
You can read the condensed engineered wood flooring excerpt from our full installation guide on this page, or you can visit the full installation guide at the link found at the bottom of this page.
Before final installation, the product must be checked with the end user to ensure the correct product has been supplied, and that the end user is happy with the product.
Additionally, the inspection of all pieces of the floor must be done before those pieces are installed. Carefully examine the flooring for colour, finish and quality before installing it.
Before commencing installation ensure the requirements have been met for:
Site Checks
- Jobsite Conditions (Chapter 1 of our full installation guide)
- Moisture Testing (Chapter 2)
- Acclimatisation (Chapter 3)
Acceptable Sub Floors
- Concrete
- Panel
- Plank
- Joists (for 20mm floors only)
- Tiles

BEFORE YOU BEGIN
Always check with the end-user (the homeowner) that the correct product has been delivered and that they are happy with the grade and visual appearance of the floor.
Open several packs at a time and mix the boards to ensure a good degree of board selection so that the installation is visually well-balanced.
Choose a starting wall according to the most aesthetically or architecturally important elements in the room, taking into consideration fireplaces, doors, cabinets and transitions, as well as the squareness of the room. The starting wall will often be the longest unbroken wall in the room but do consider all other factors such as lighting.

INSTALLATION GUIDELINES
Engineered wood floors can be glued to the existing sub floor using Ted Todd MS Flex adhesive, or they can be floated over an appropriate Ted Todd underlay and using Ted Todd T&G Adhesive to join the planks. 20mm thick products can be nailed to timber sub floors.
Ensure a DPM (damp proof membrane) or vapour retarder has been applied unless the flooring is to be installed over underfloor heating.
The Ted Todd Fidbox monitoring system must be Installed on installations with UFH.
Careful attention must be paid to the maximum area of the installation.
Do not float engineered floors where the dimension of an installation area exceeds 6m in width and 10m in length. If these dimensions are exceeded then you should fully bond the flooring using Ted Todd’s MS Flex adhesive.
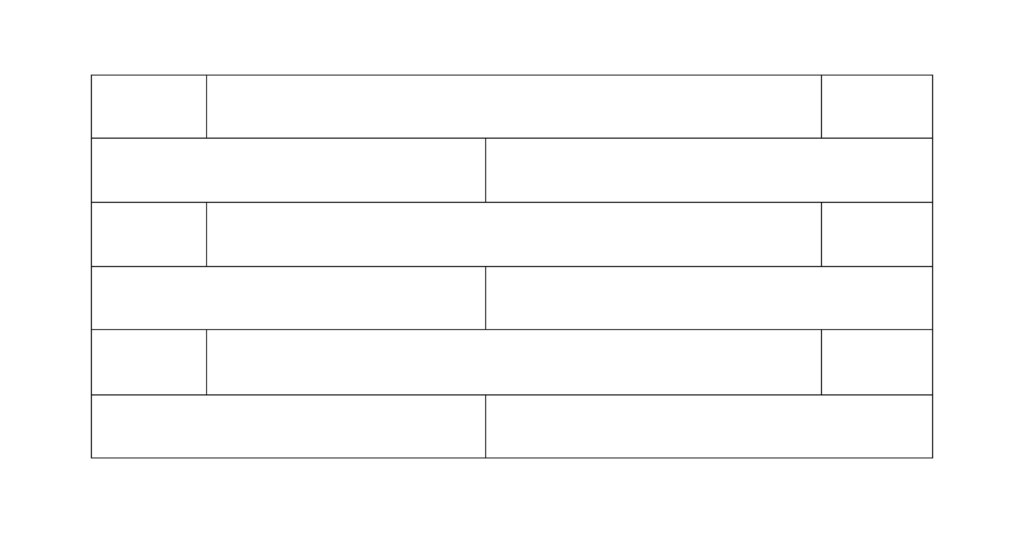
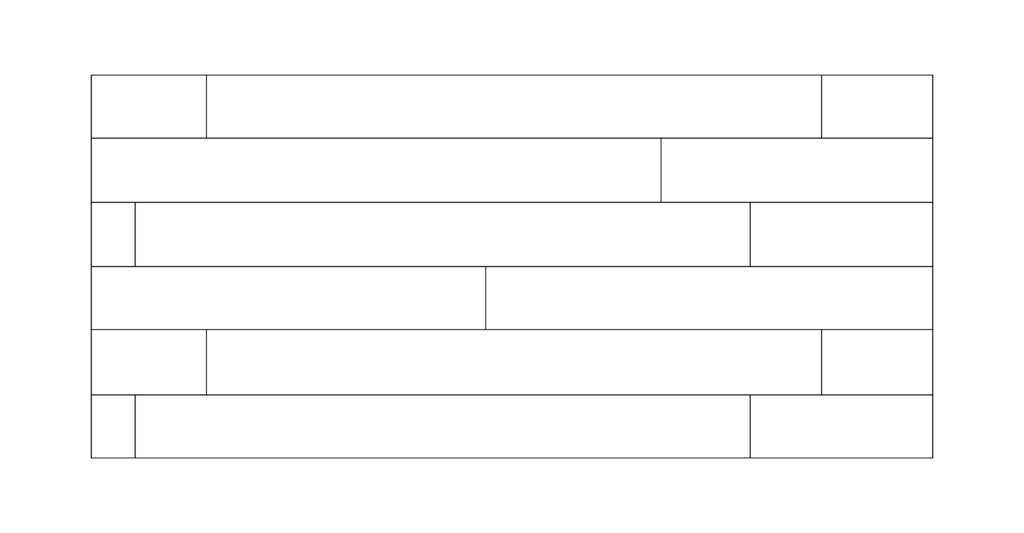

Glue Down Installation
Unless there is a water fed underfloor heating system installed apply 2 coats of Ted Todd Primerfast liquid damp proof membrane.
Tiles will need to be abraded and quartz crystals applied to the wet Ted Todd Primerfast before installation.
Snap a working line parallel to the starting wall, the width of the board, plus the tongue and recommended expansion space.
Install a starter board along the edge of the working line and begin installation.
Alternatively, lay one row of planks in Ted Todd MS Flex along the length of the working line and allow curing before starting the installation.
Please refer to Ted Todd MS Flex and Ted Todd Primerfast data sheets.
Spread the adhesive as instructed up to and along the working line. Use tensioners to maintain a tight floor.

Nail Down Installation
Only 20mm thick wood floors can be nailed.
This can be over any wood sub floor, refer to chapter 4 in the main installation guide for more details.
Our 20mm floors are ends matched. When installing over joists at 450mm centres there is no requirement to support head joints on a joist for normal domestic installations. If heavier point loading is expected all header joints should be supported.
If installing over solid sub flooring, planks must be laid at 45 or 90 degrees to sub floor boards or add a layer of minimum nominal 12mm Class1 plywood underlayment to the existing sub floor.
Always use Sisalkraft underlay with all nail down installations, overlapping the seams by min 100mm and returning up the wall.
Snap a working line parallel to the starting wall, allowing 15mm expansion space. Lay one row of planks along the entire length of the working line.
Top-nail and blind-nail the first row (hand-nail if necessary), using appropriate fasteners. Denser species may require pre-drilling. Each succeeding row should be blind-nailed wherever possible:
a. Joist sub floors – Blind nail in each joist
b. Plank or Panel sub floors – Nail every 200 – 300mm
During installation of flooring, push or gently tap boards flush to the previous row. Tap against the tongue using a knocking-block with a rubber mallet. Tapping the groove directly may damage the edge. To prevent damage to the finish, avoid tapping the face of the board.
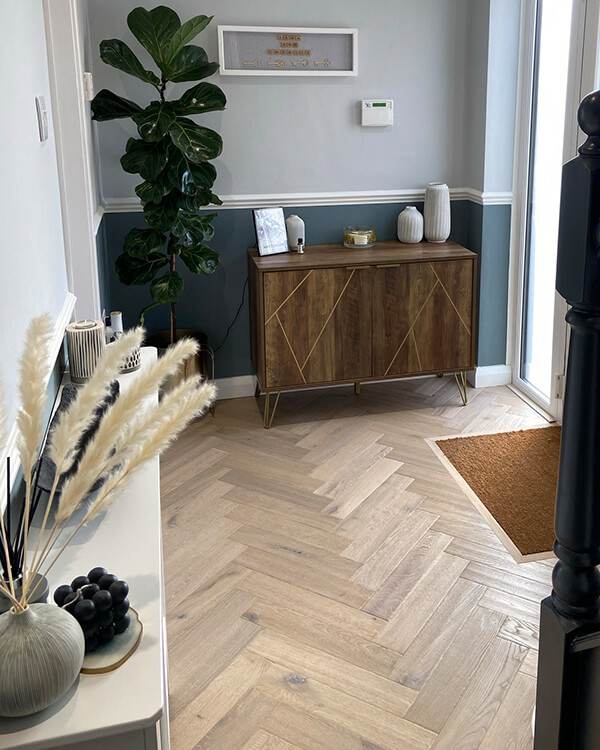
Floating Plank Installation
Do not install fixed items over floated engineered floors i.e. kitchen units or islands.
Do not float engineered floors where the room dimensions exceed 6m in width. Follow glue down installation methods.
All engineered plank floors can be floated over all acceptable sub floors, see chapters 4 – 5 of our full installation guide.
Install an appropriate Ted Todd underlay, taping all seams with aluminium tape. Use the table below to help select the correct Ted Todd Underlay depending upon the installation and building type.
Apply Ted Todd T&G Adhesive to top of tongue on lengths of boards and head joints ensuring the boards are clamped while the glue is left to cure.